How I made an Intellect Devourer using my own Brain
Several years ago I had multiple MRI's performed on my brain as part of a study, and got the DICOM data from it. However, they weren't the highest quality and would take a long time for me to fix up to make printable into a 3D model...
Fast-forward to 2023 when Baldur's Gate 3 drops, and I instantly knew I had to make an intellect devourer pet. But where would I get a brain model - WAIT A MINUTE, MY BRAIN!
This funny looking dog popped out of my head and keeps calling itself "Us", how do I put him back???
— WolfwithSword (@_WolfwithSword) September 24, 2023
~ Intellect Devourer, but using a 3d model of my *actual* brain from an MRI#dungeonsanddragons #DnD #BG3 #BaldursGate3 #baldursgate #3dprint #3dprinting #prop #brain #monster pic.twitter.com/I7L8f6S9fi
Brain Extraction & Modelling
The MRI gave me DICOM data, which is essentially several different types of scans bundled in one, and several tens to hundreds of images per scan type.
By now, some programs have gotten better with rendering these to 3D models, and gotten better at removing bone and flesh. I tested using two programs, InVesalius and 3D Slicer.
Both could work but because my specific images weren't that high quality, separating bone, flesh and brain from each other was difficult. In the end, I used 3D Slicer and downloaded several plugins/extensions to edit the images and extract the brain, often manually adjusting values and drawing what the selection was.
Some extensions used were BrainVolumeRefinement, HDBrainExtraction, SegmentEditorExtraEffects, SkullStripper, and SwissSkullStripper. These all worked to varying degrees and the final images I rendered I can't remember which I used most of, but try each as your scans may be better with others.
One downside to my scans were that due to the low quality of the imaging, the actual "brain" extracted is smaller than well, the actual brain. That and the lumps and such are less rounded and plump, because grayscale image extraction stuff.
To somewhat mitigate this, I actually had two extracts with different masks. One was pretty much just the brain, and the other was a bit more and I cut the top off and manually merged it into the smaller version. This was because the sides were more or less alright, but the top was quite spikey. This was done in blender.
When extracted and edited in Blender, I still had a ton of cleanup removing artifacts, making it water-tight, removing random geometry manually inside the brain, sealing holes etc. This took several weeks but was worth it. The last step was to reduce the poly's and model the legs and claws as a "stand" for the brain.
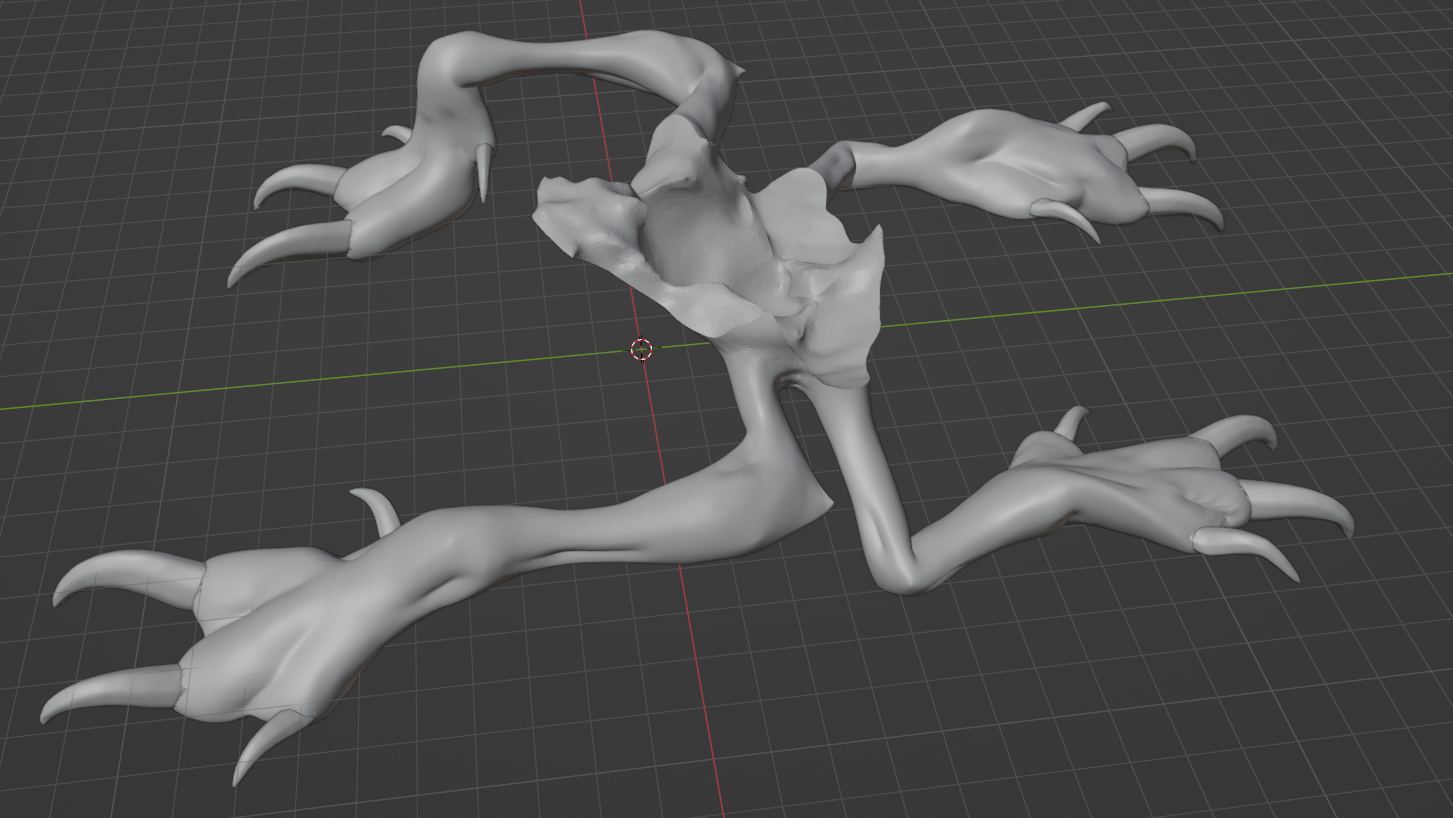
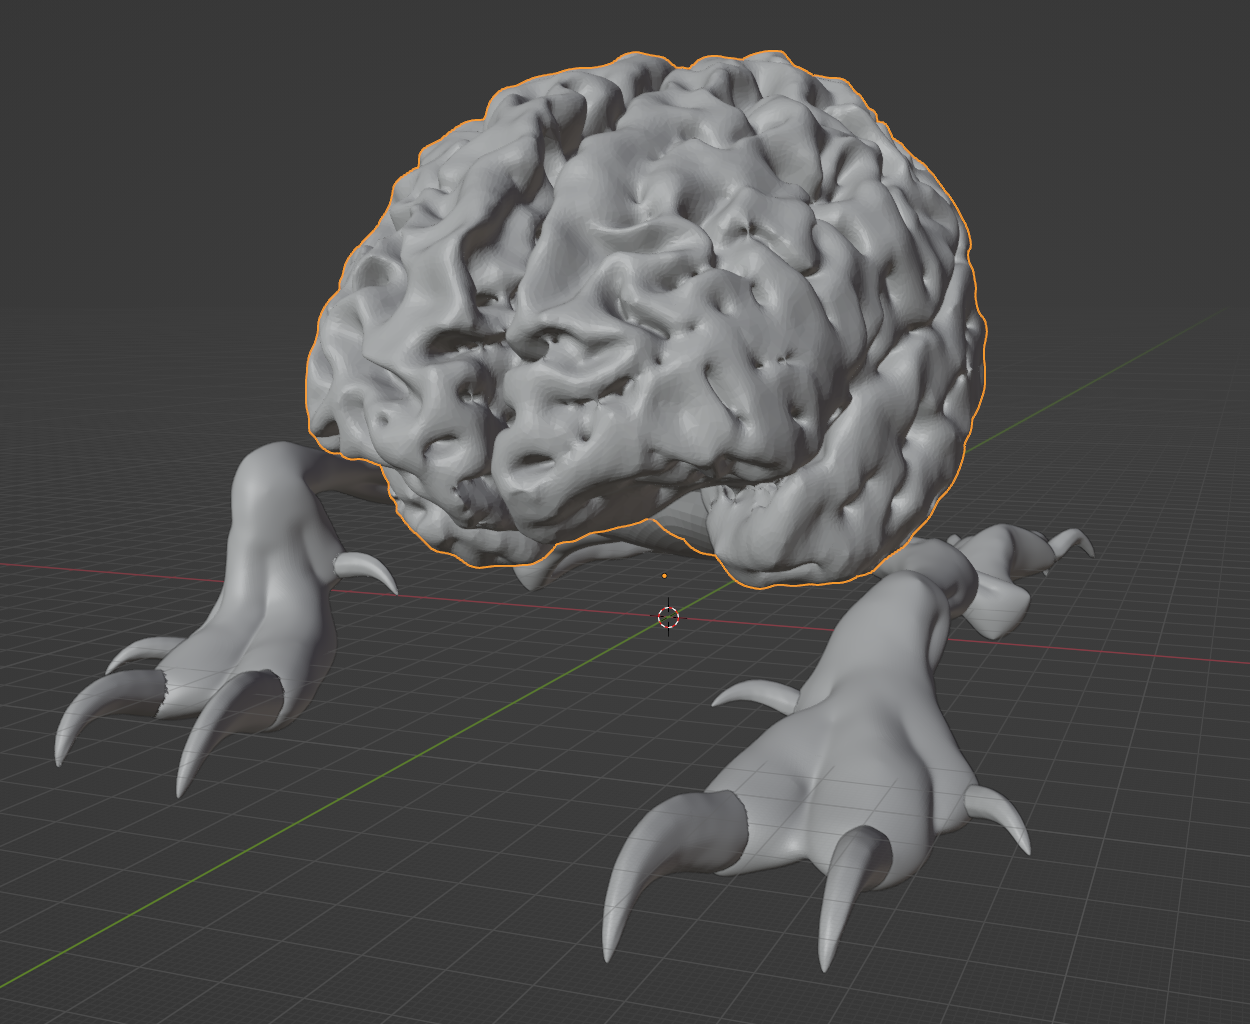
Printing & Processing
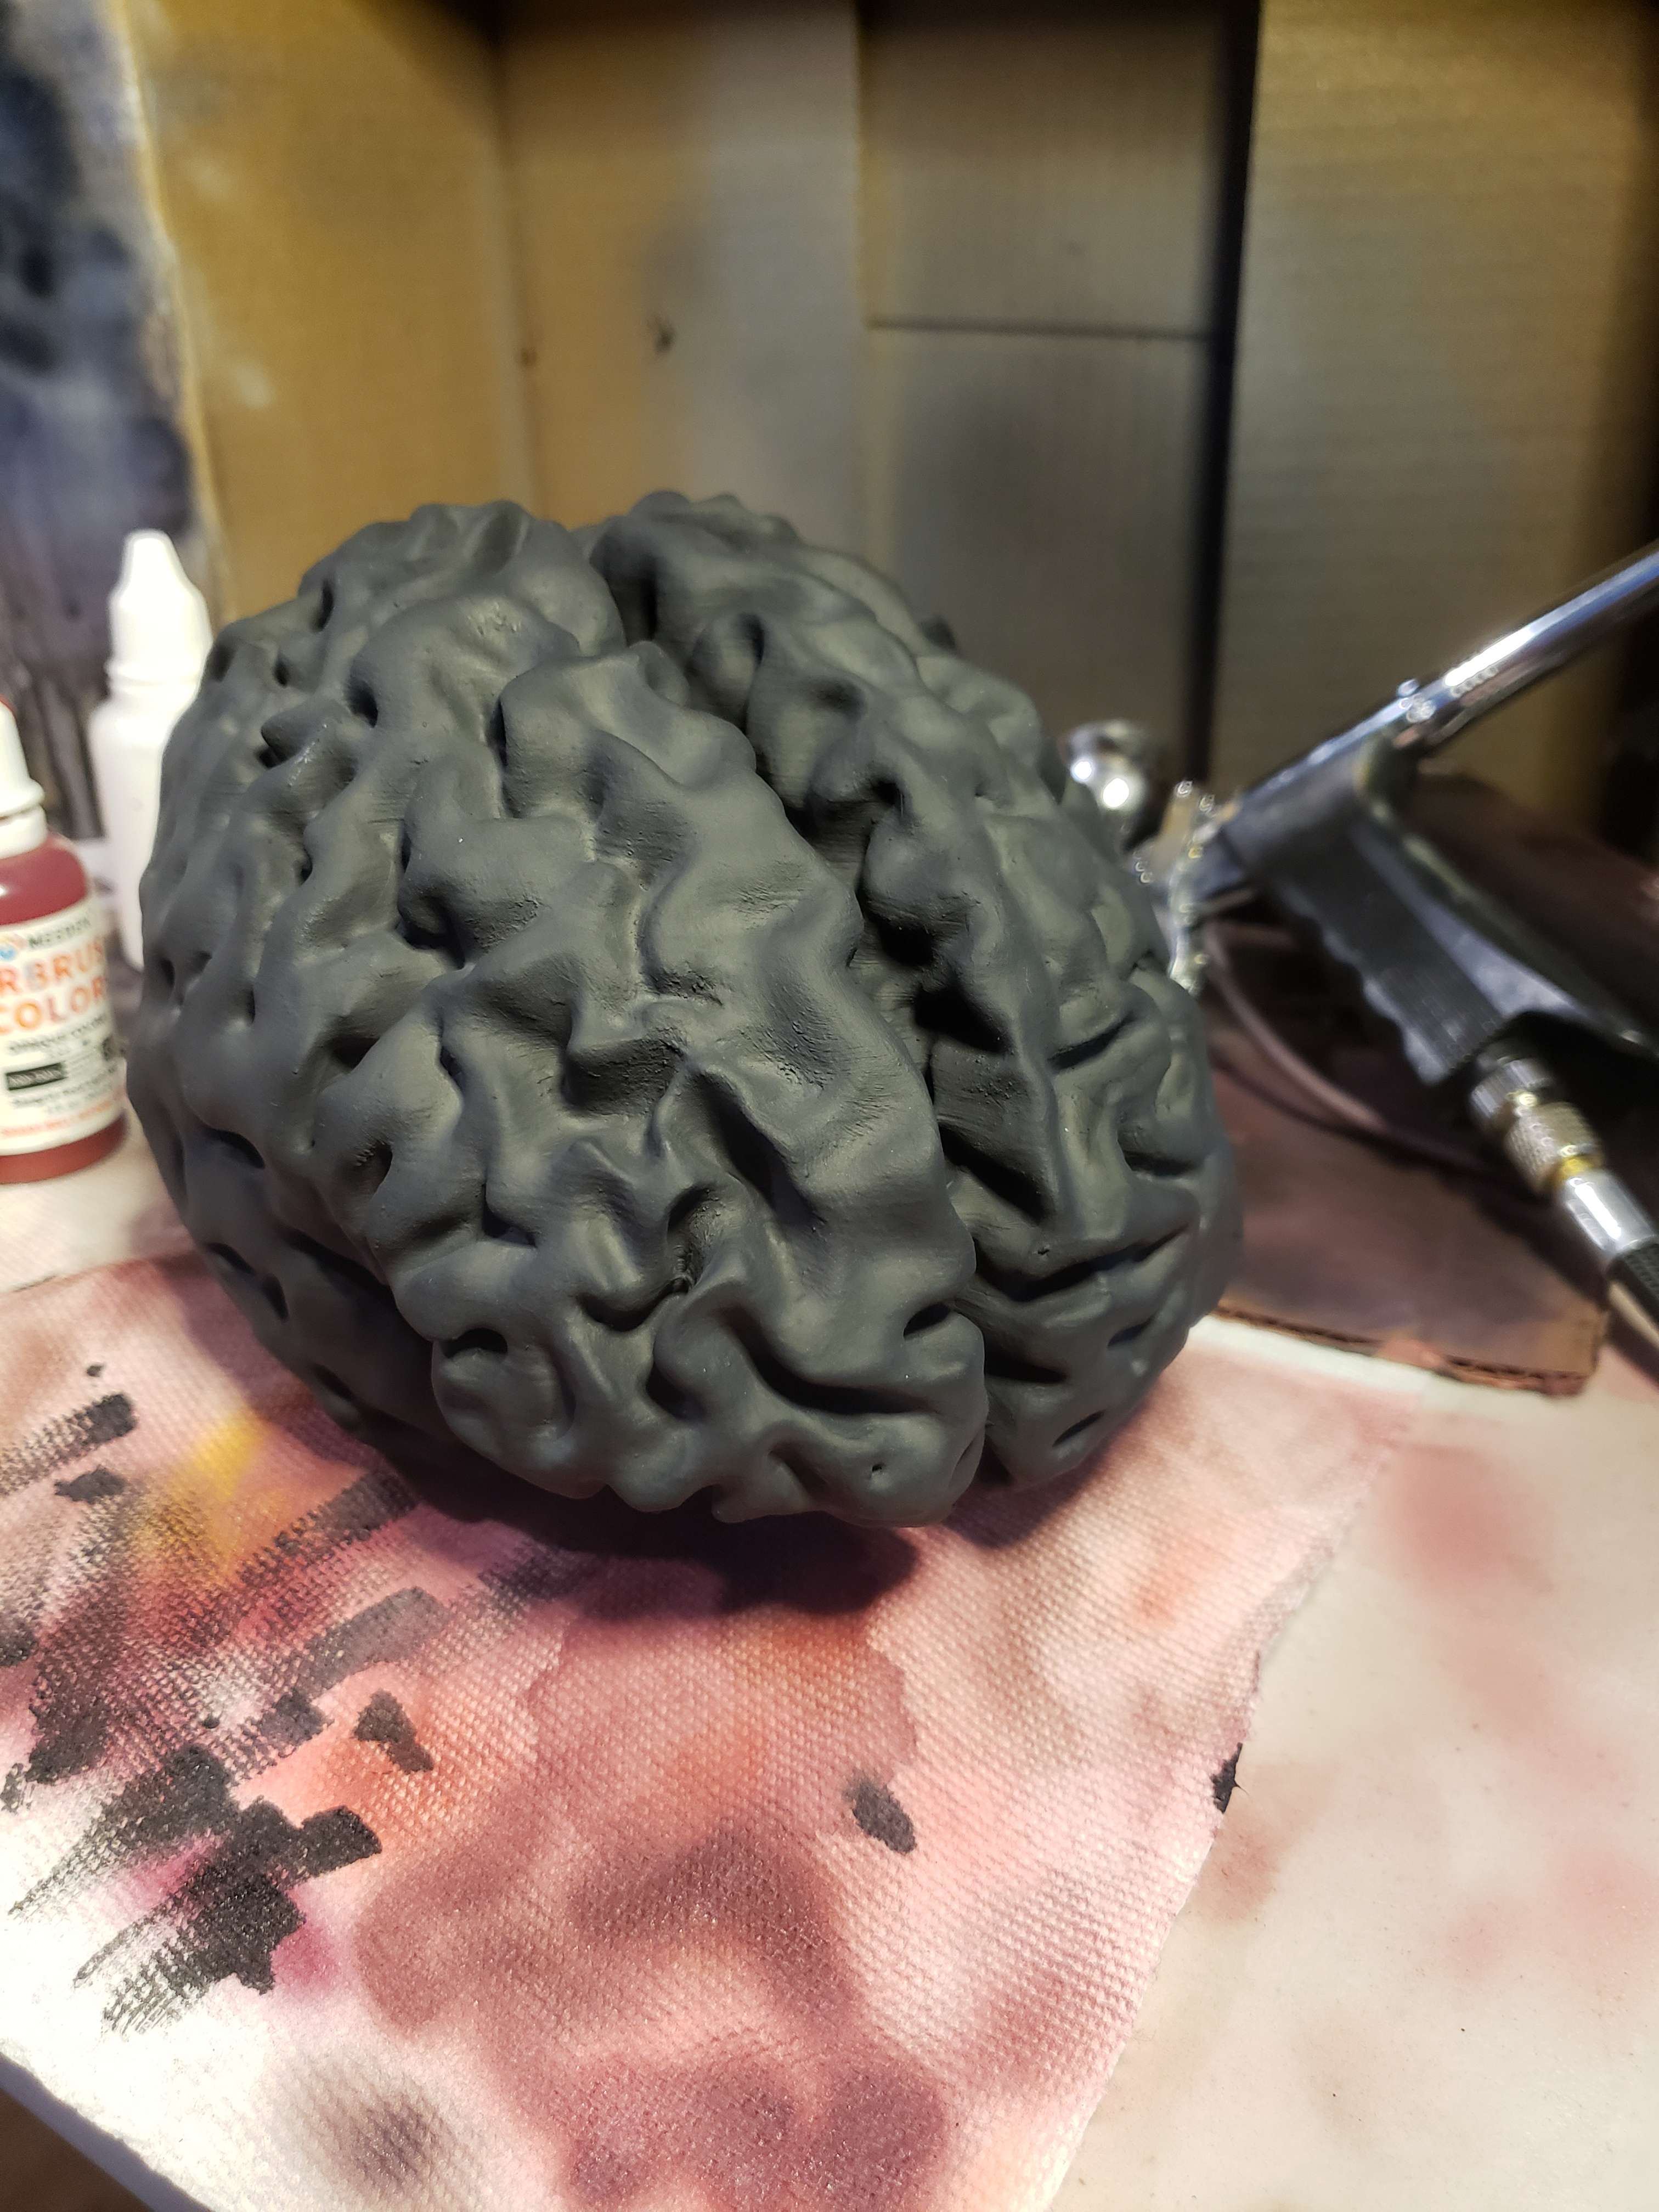
Quite simply put, this was printed in just some standard PLA then lightly sanded to smooth. However since the brain itself was quite hard to sand, I preferred to fill it in a bit.
I mixed some Bondo spot putty with acetone in a cup and brushed it over the brain, sanding it down in high spots and repeated all over. I did the same to the legs since I had it there.
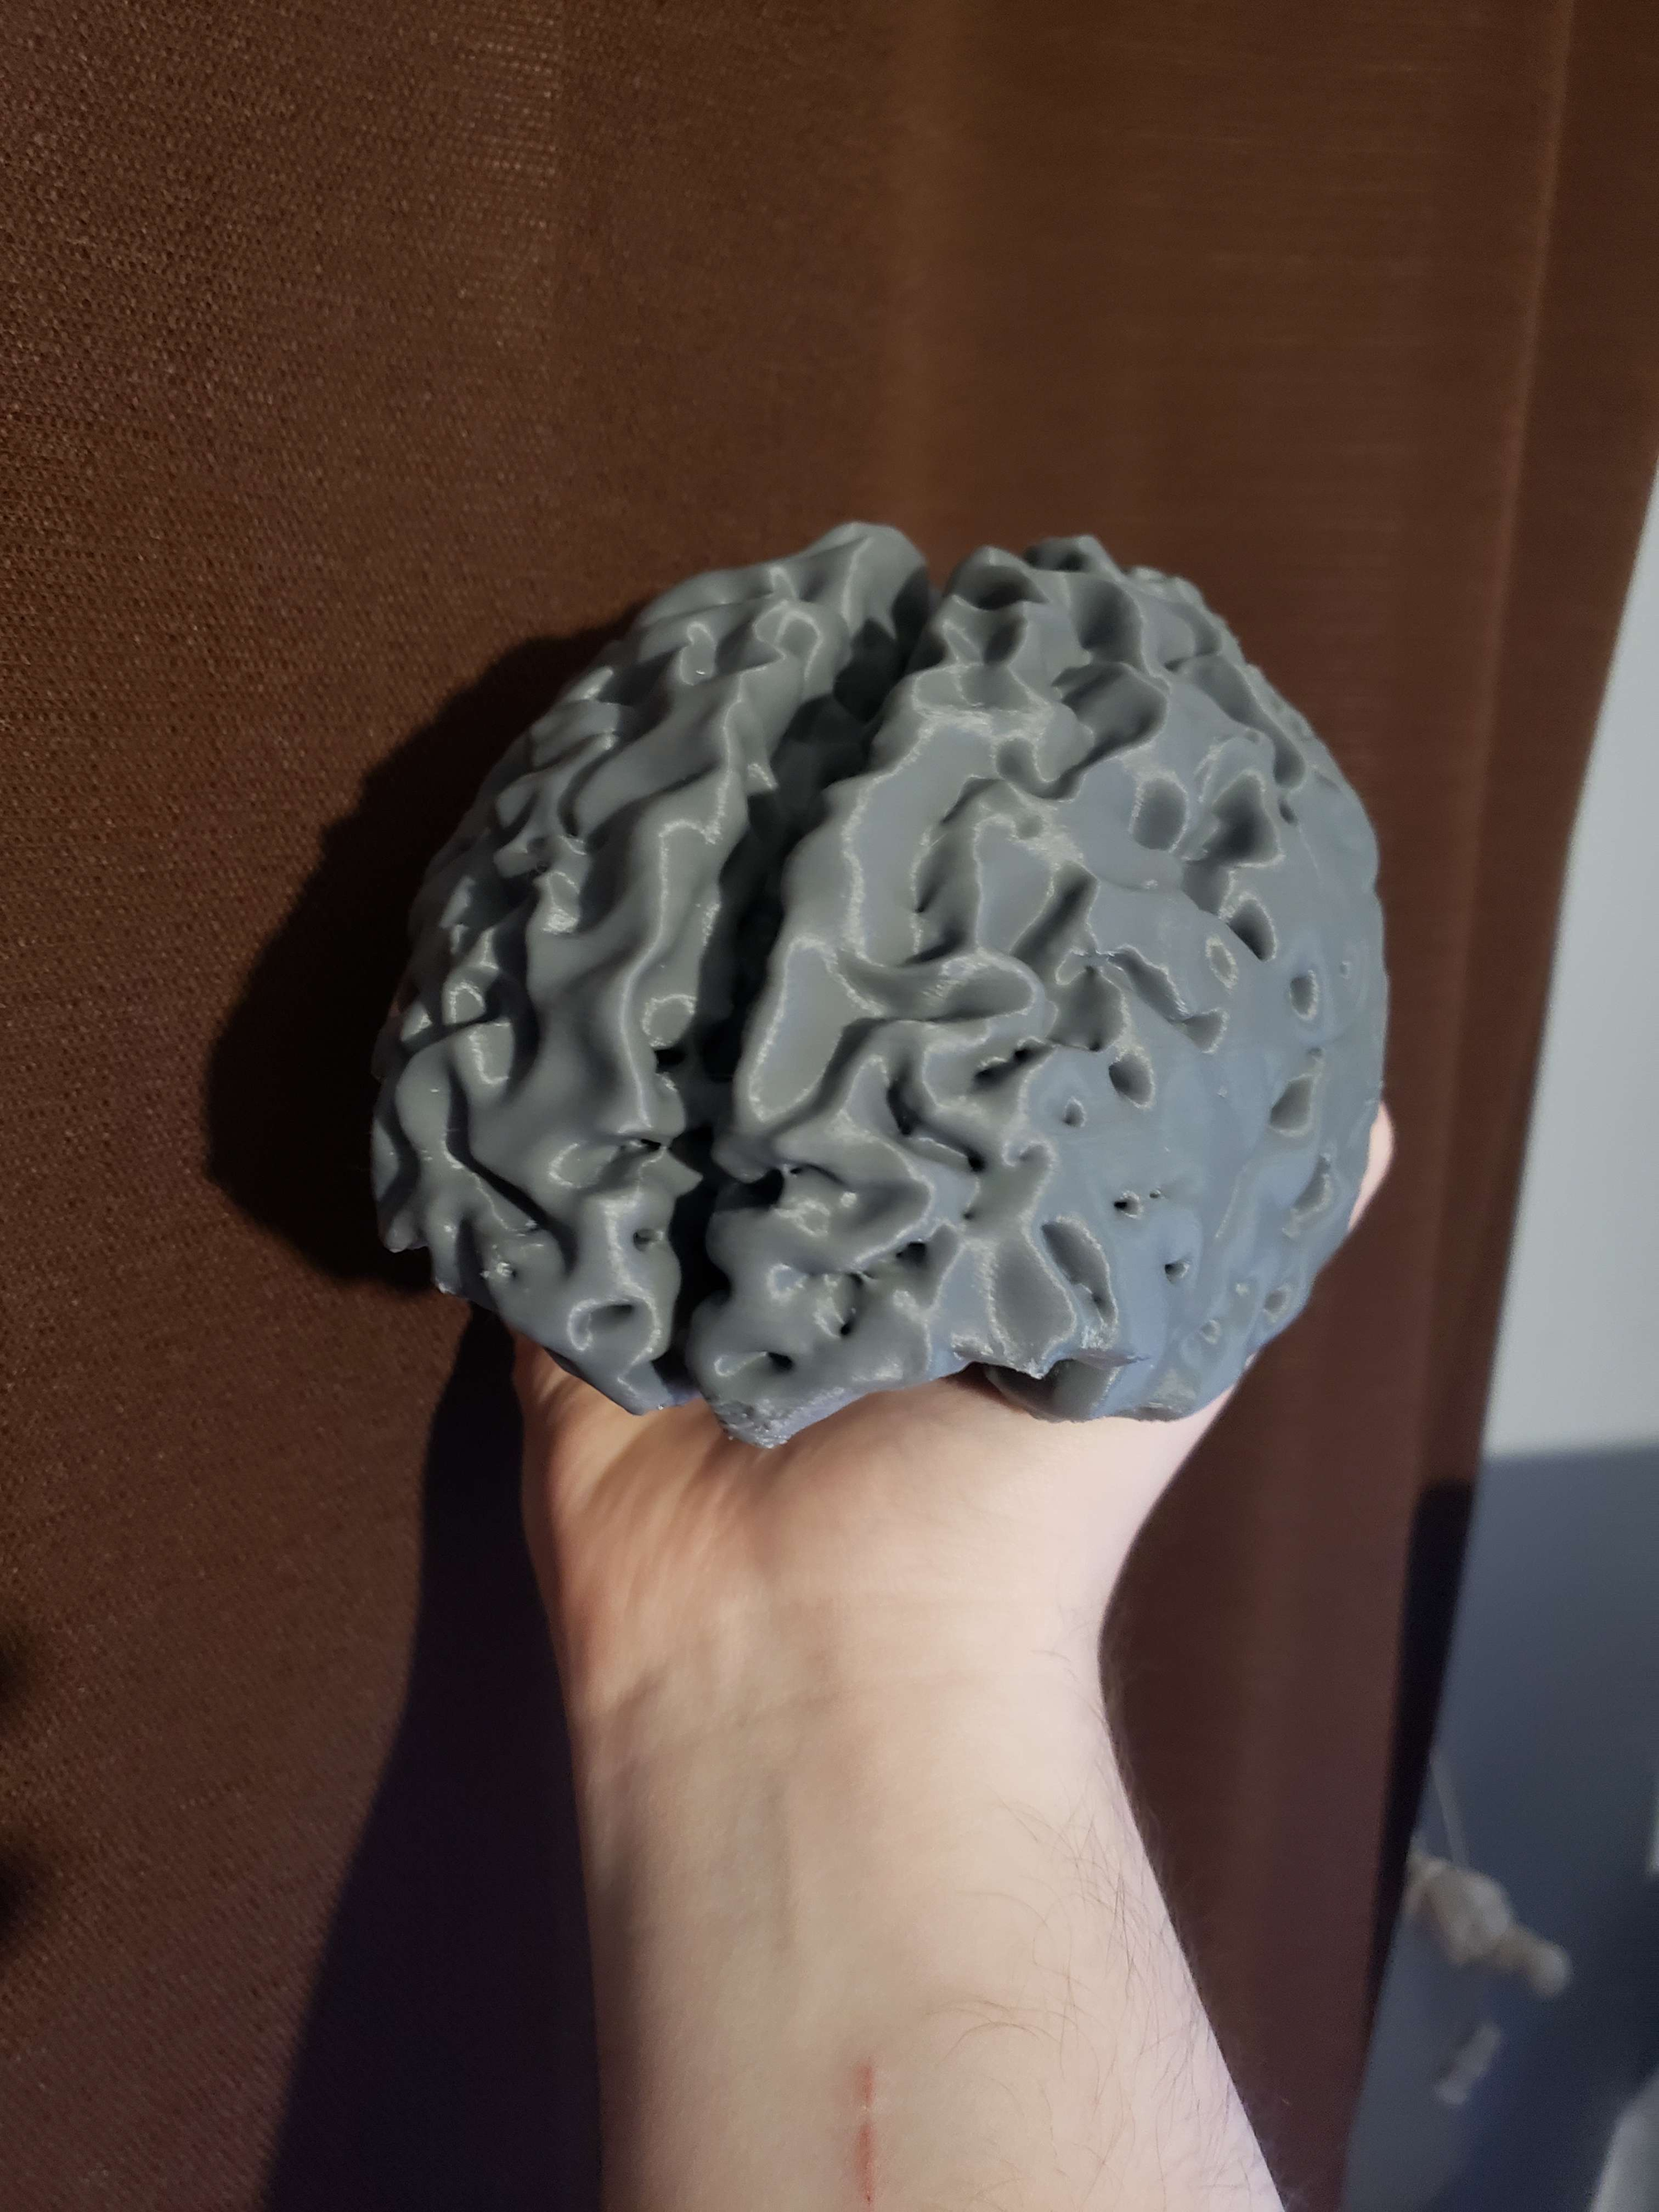
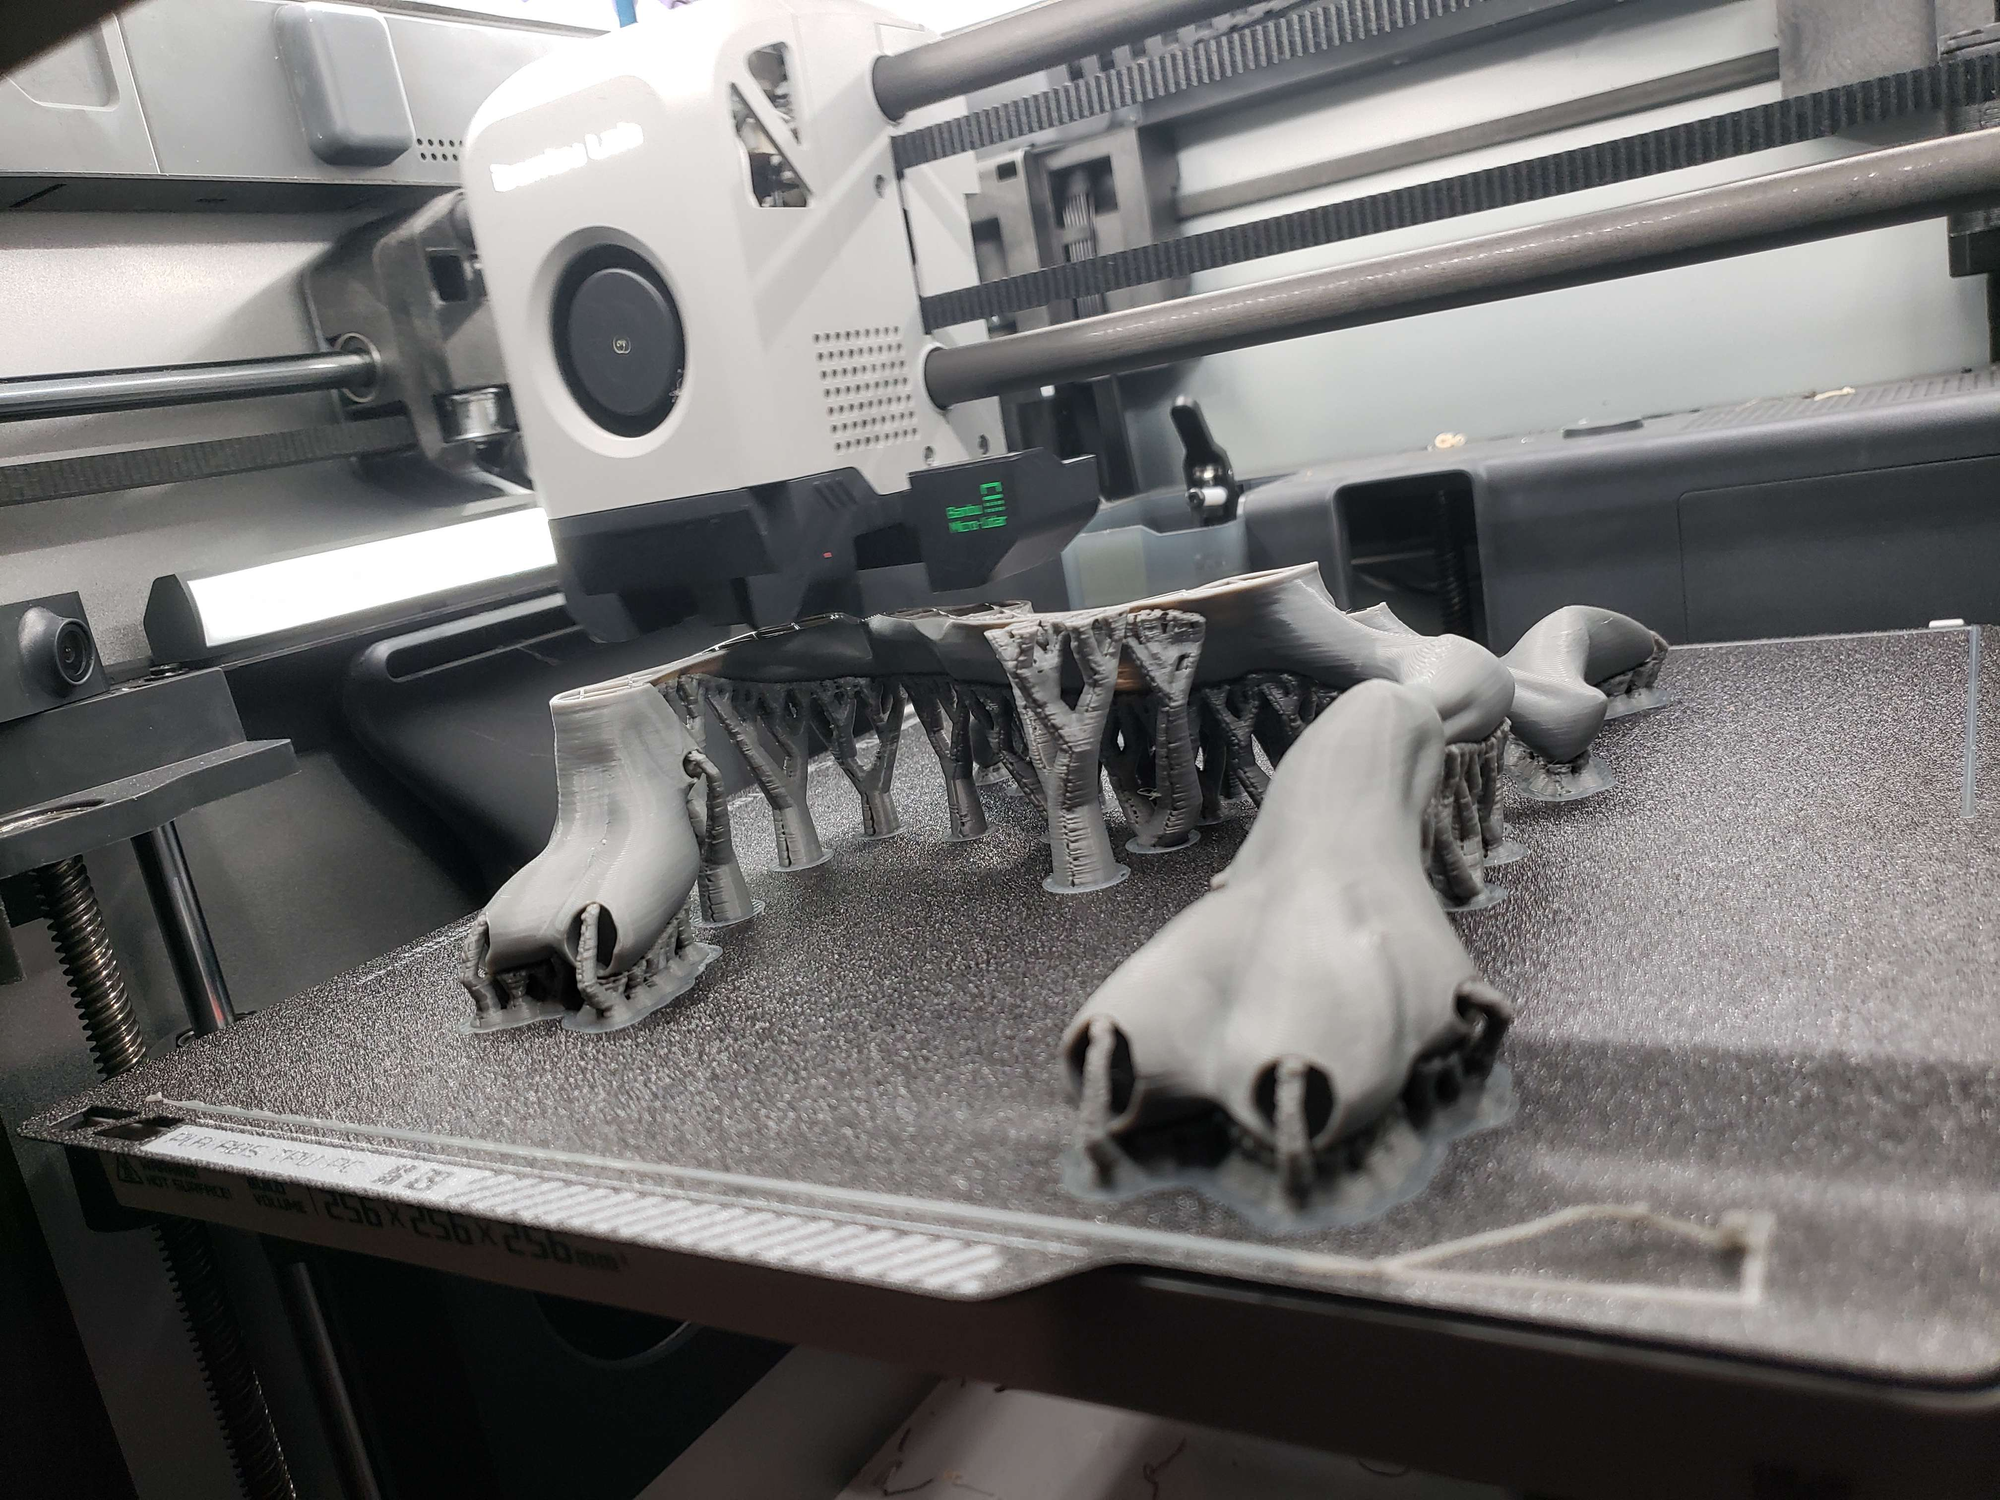
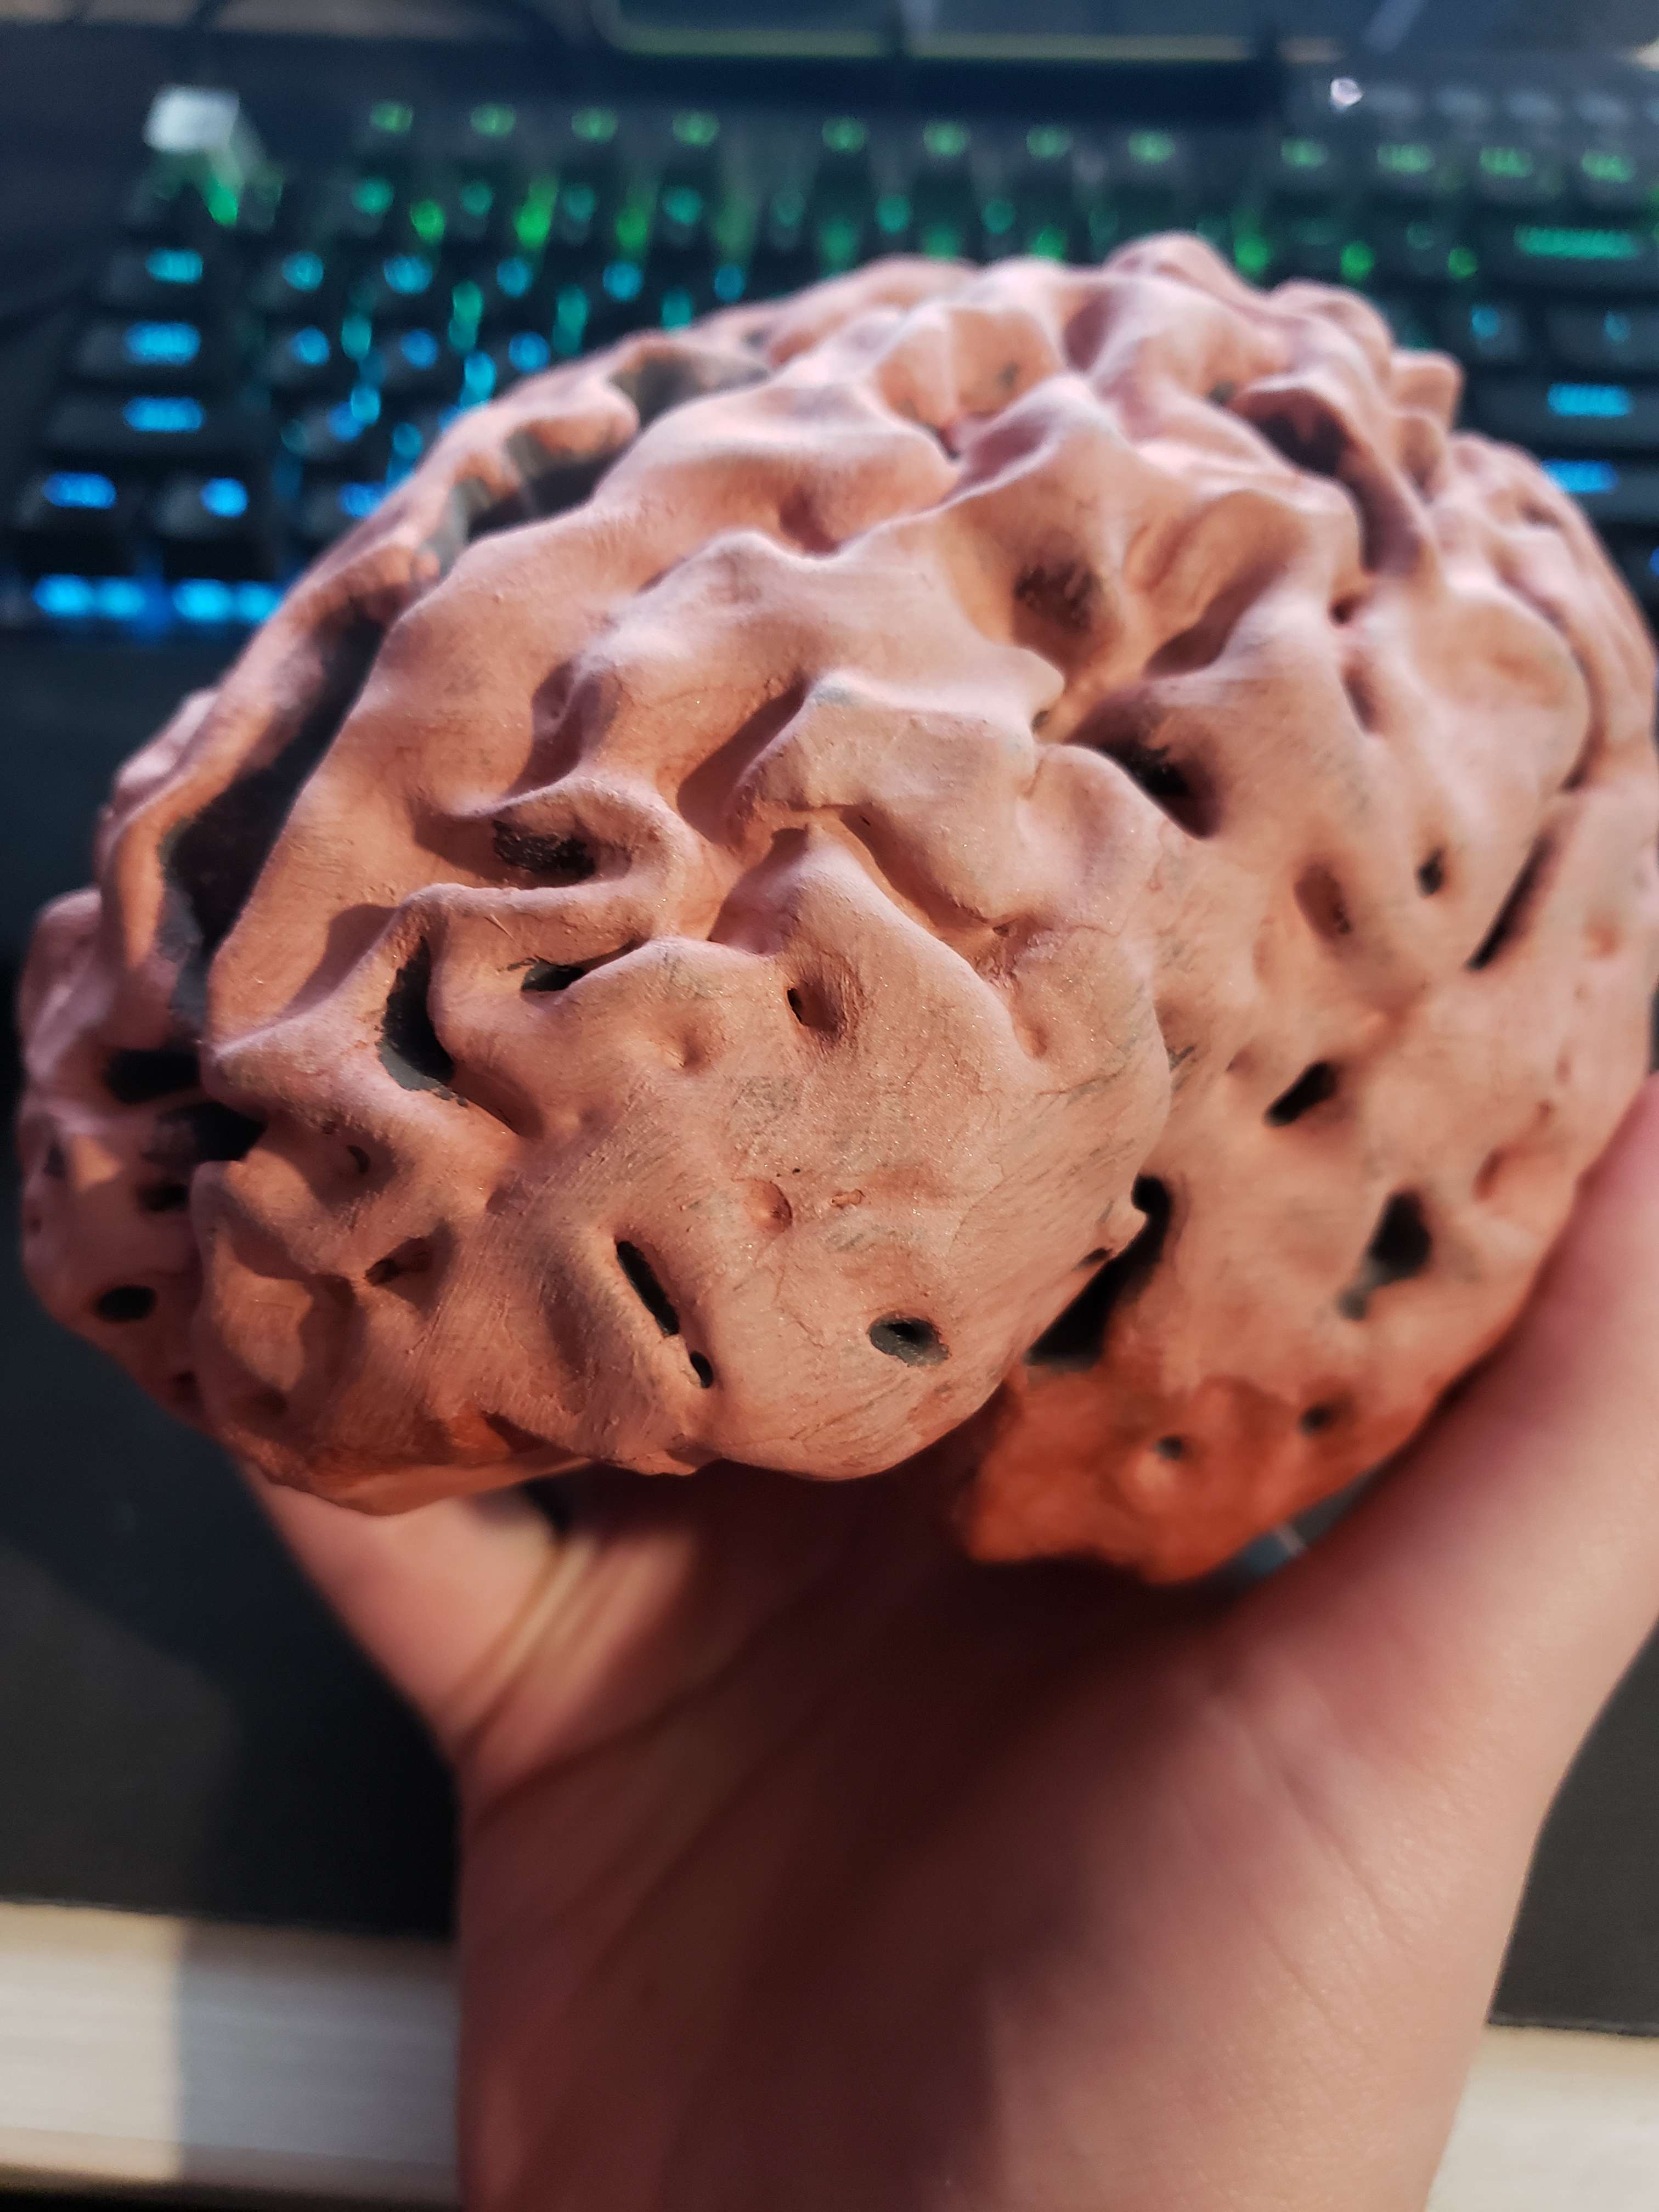
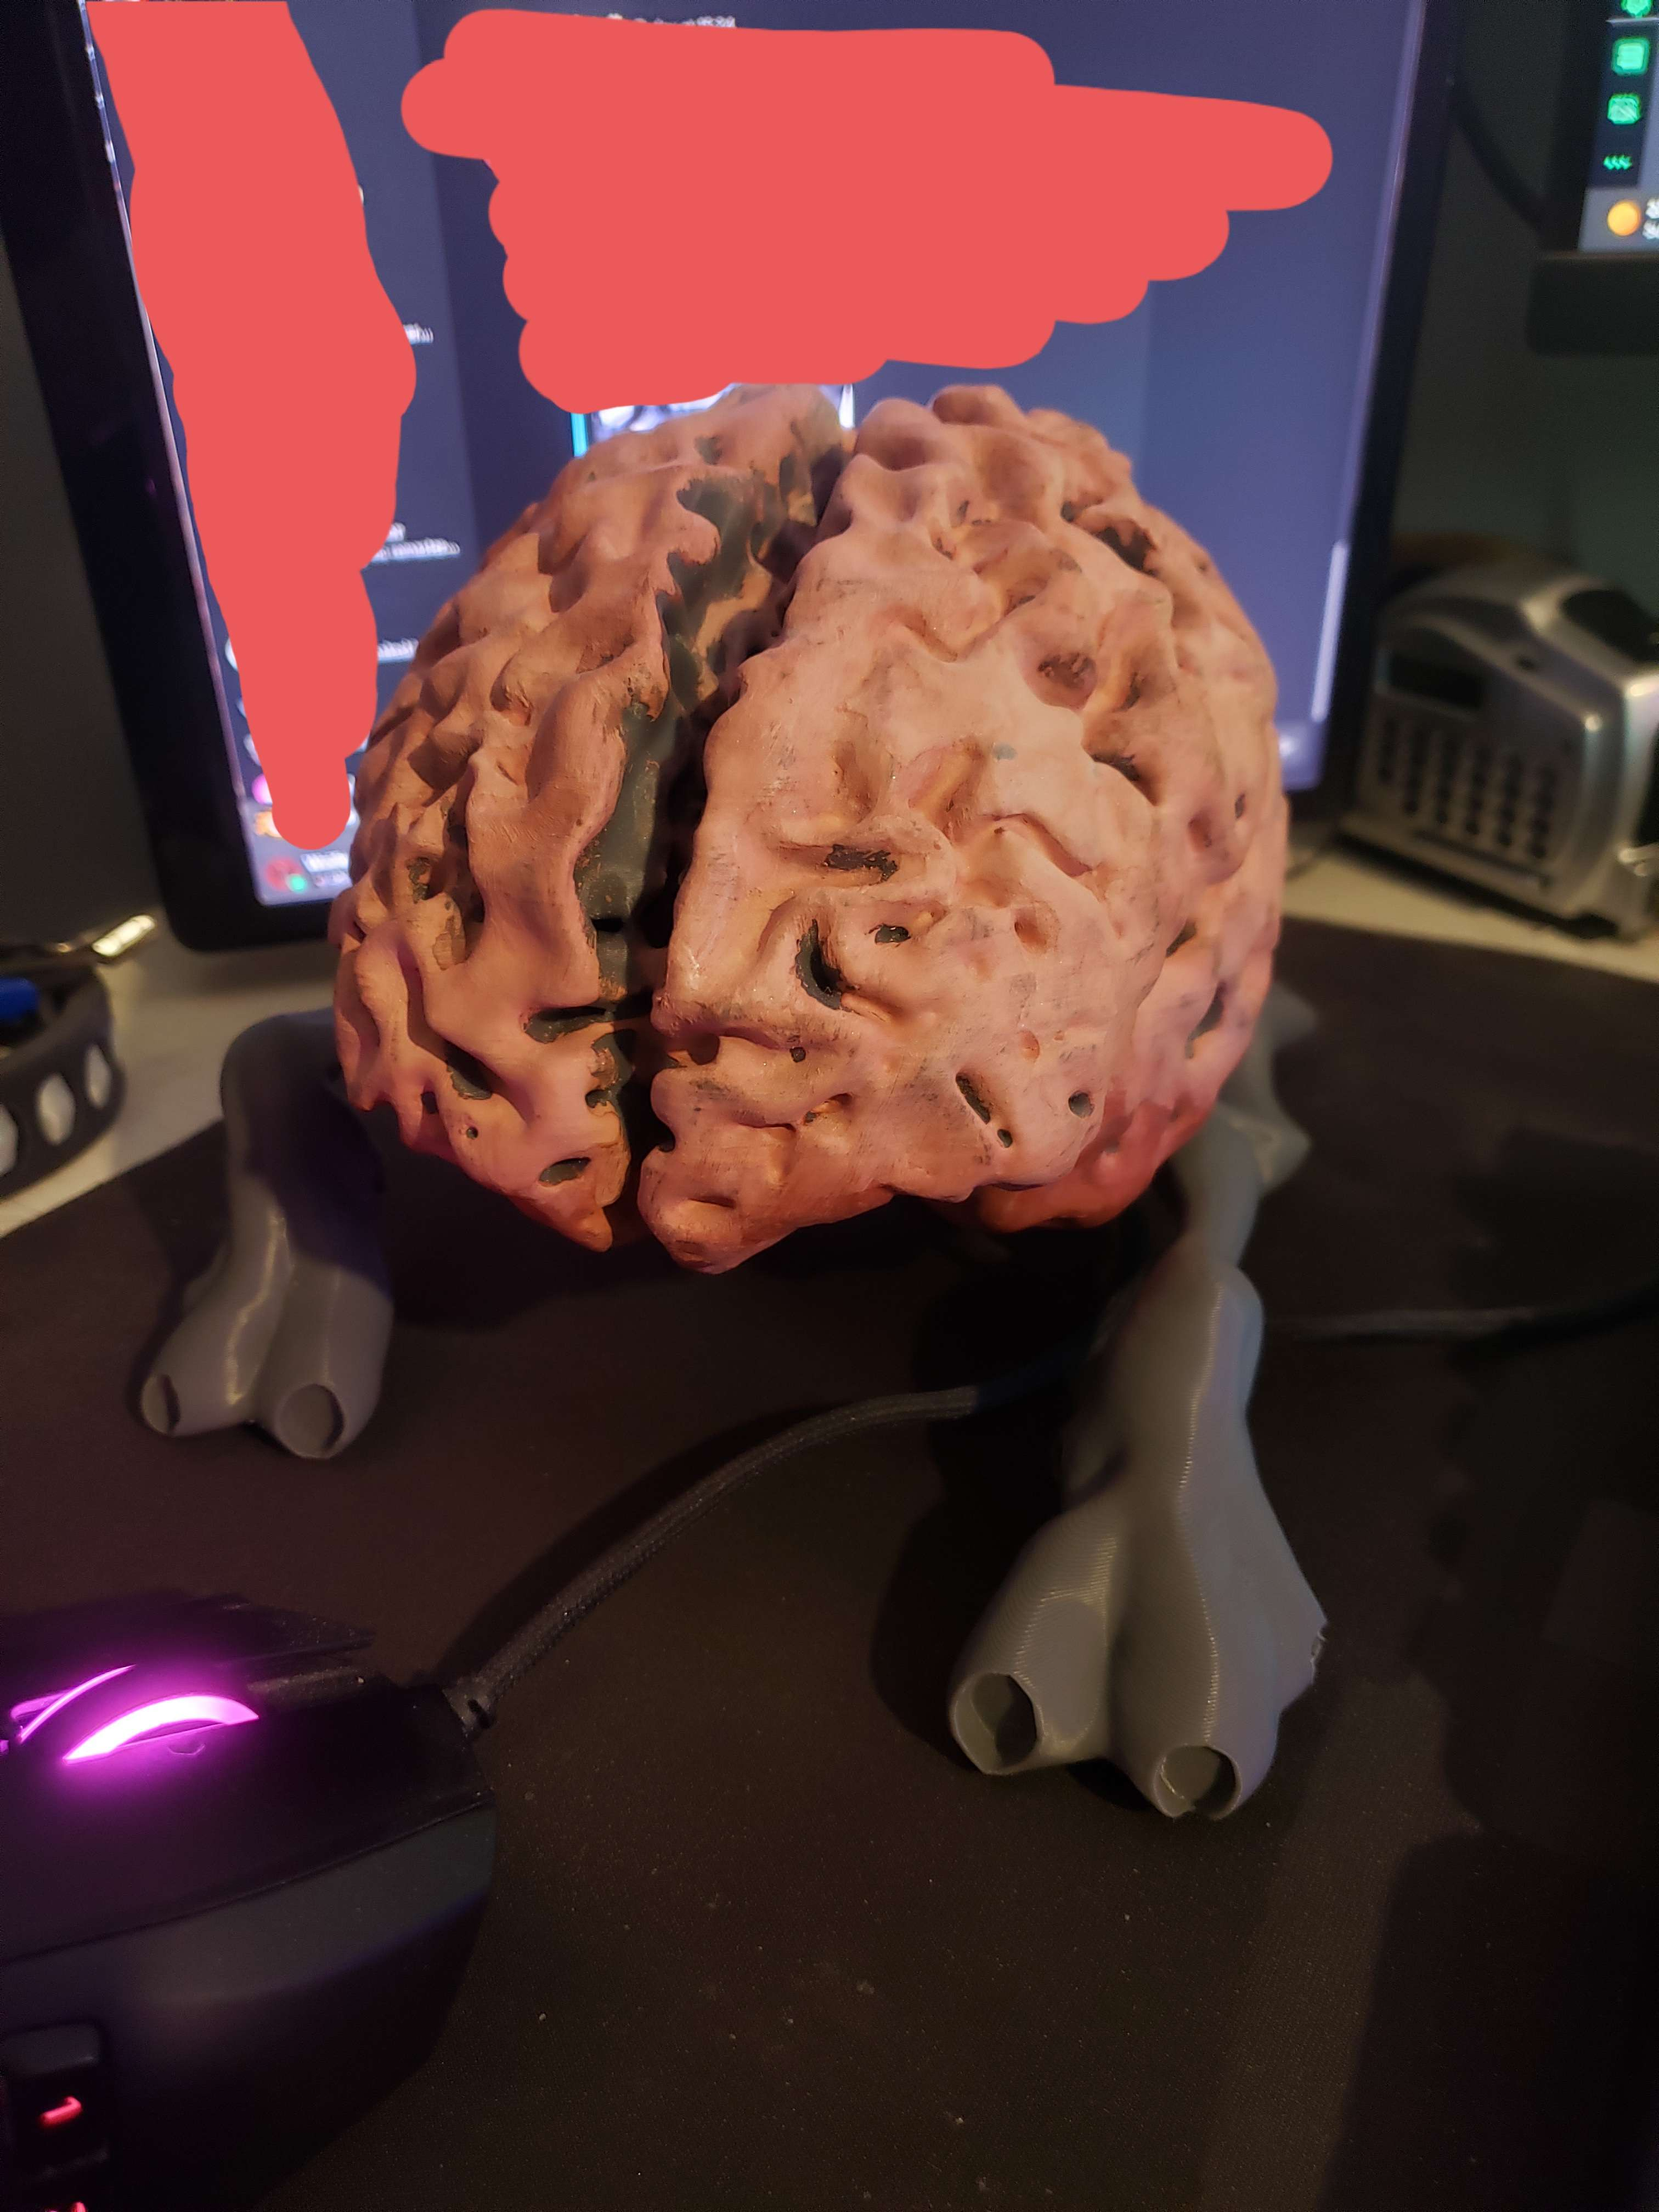
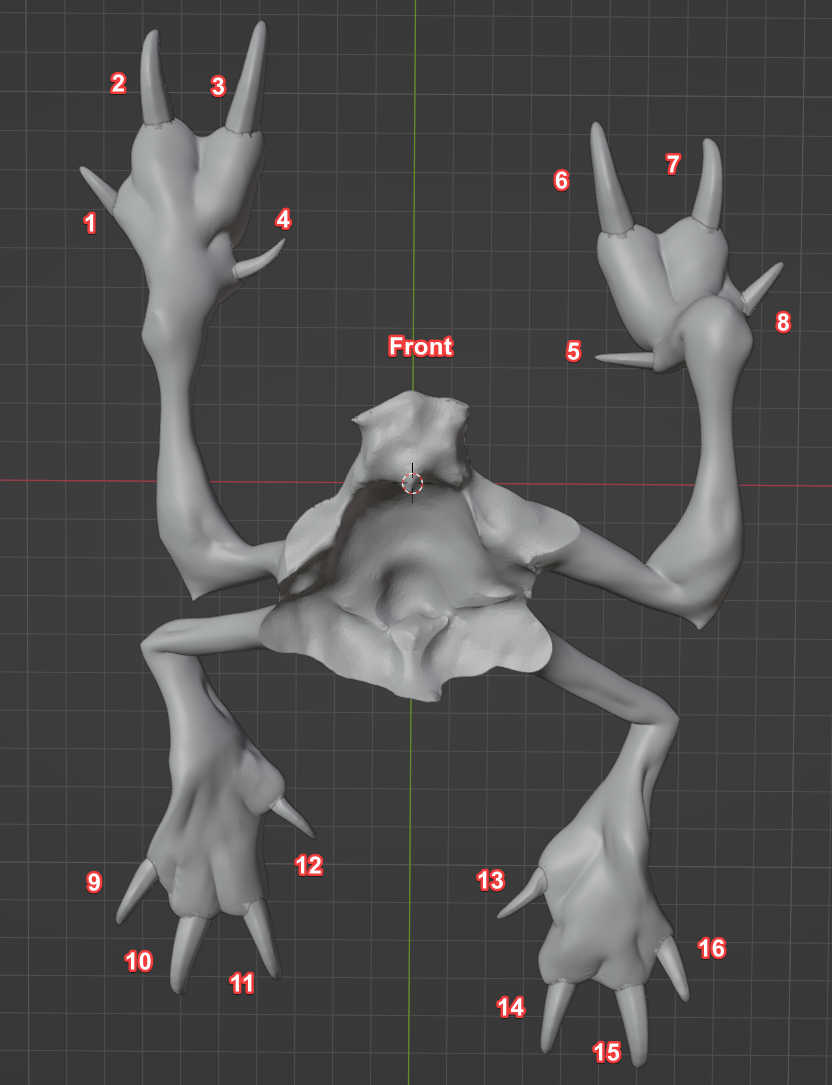
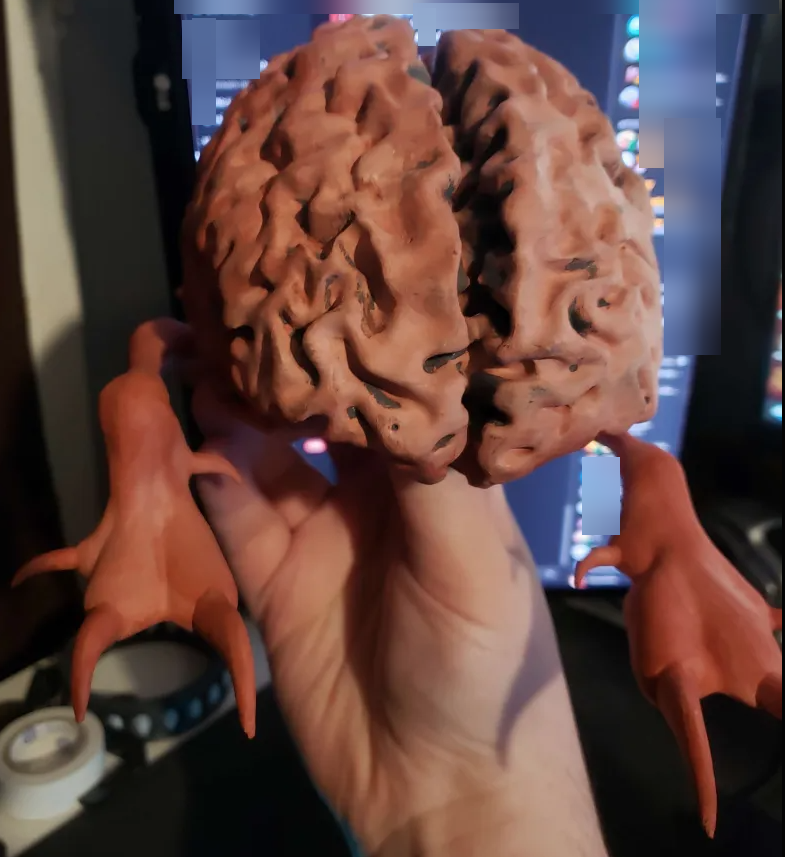
Printing, assembly and brushing on bondo putty with acetone to smooth
After that, all pieces were spray painted with a filler primer, sanded again and then a normal surface primer. Then airbrushed with a black coat before layering on several reds, pinks, yellows, greens etc to make it look like a brain. The same was applied to the legs, but still contrasted differently. The claws were brush painted a gloss black.
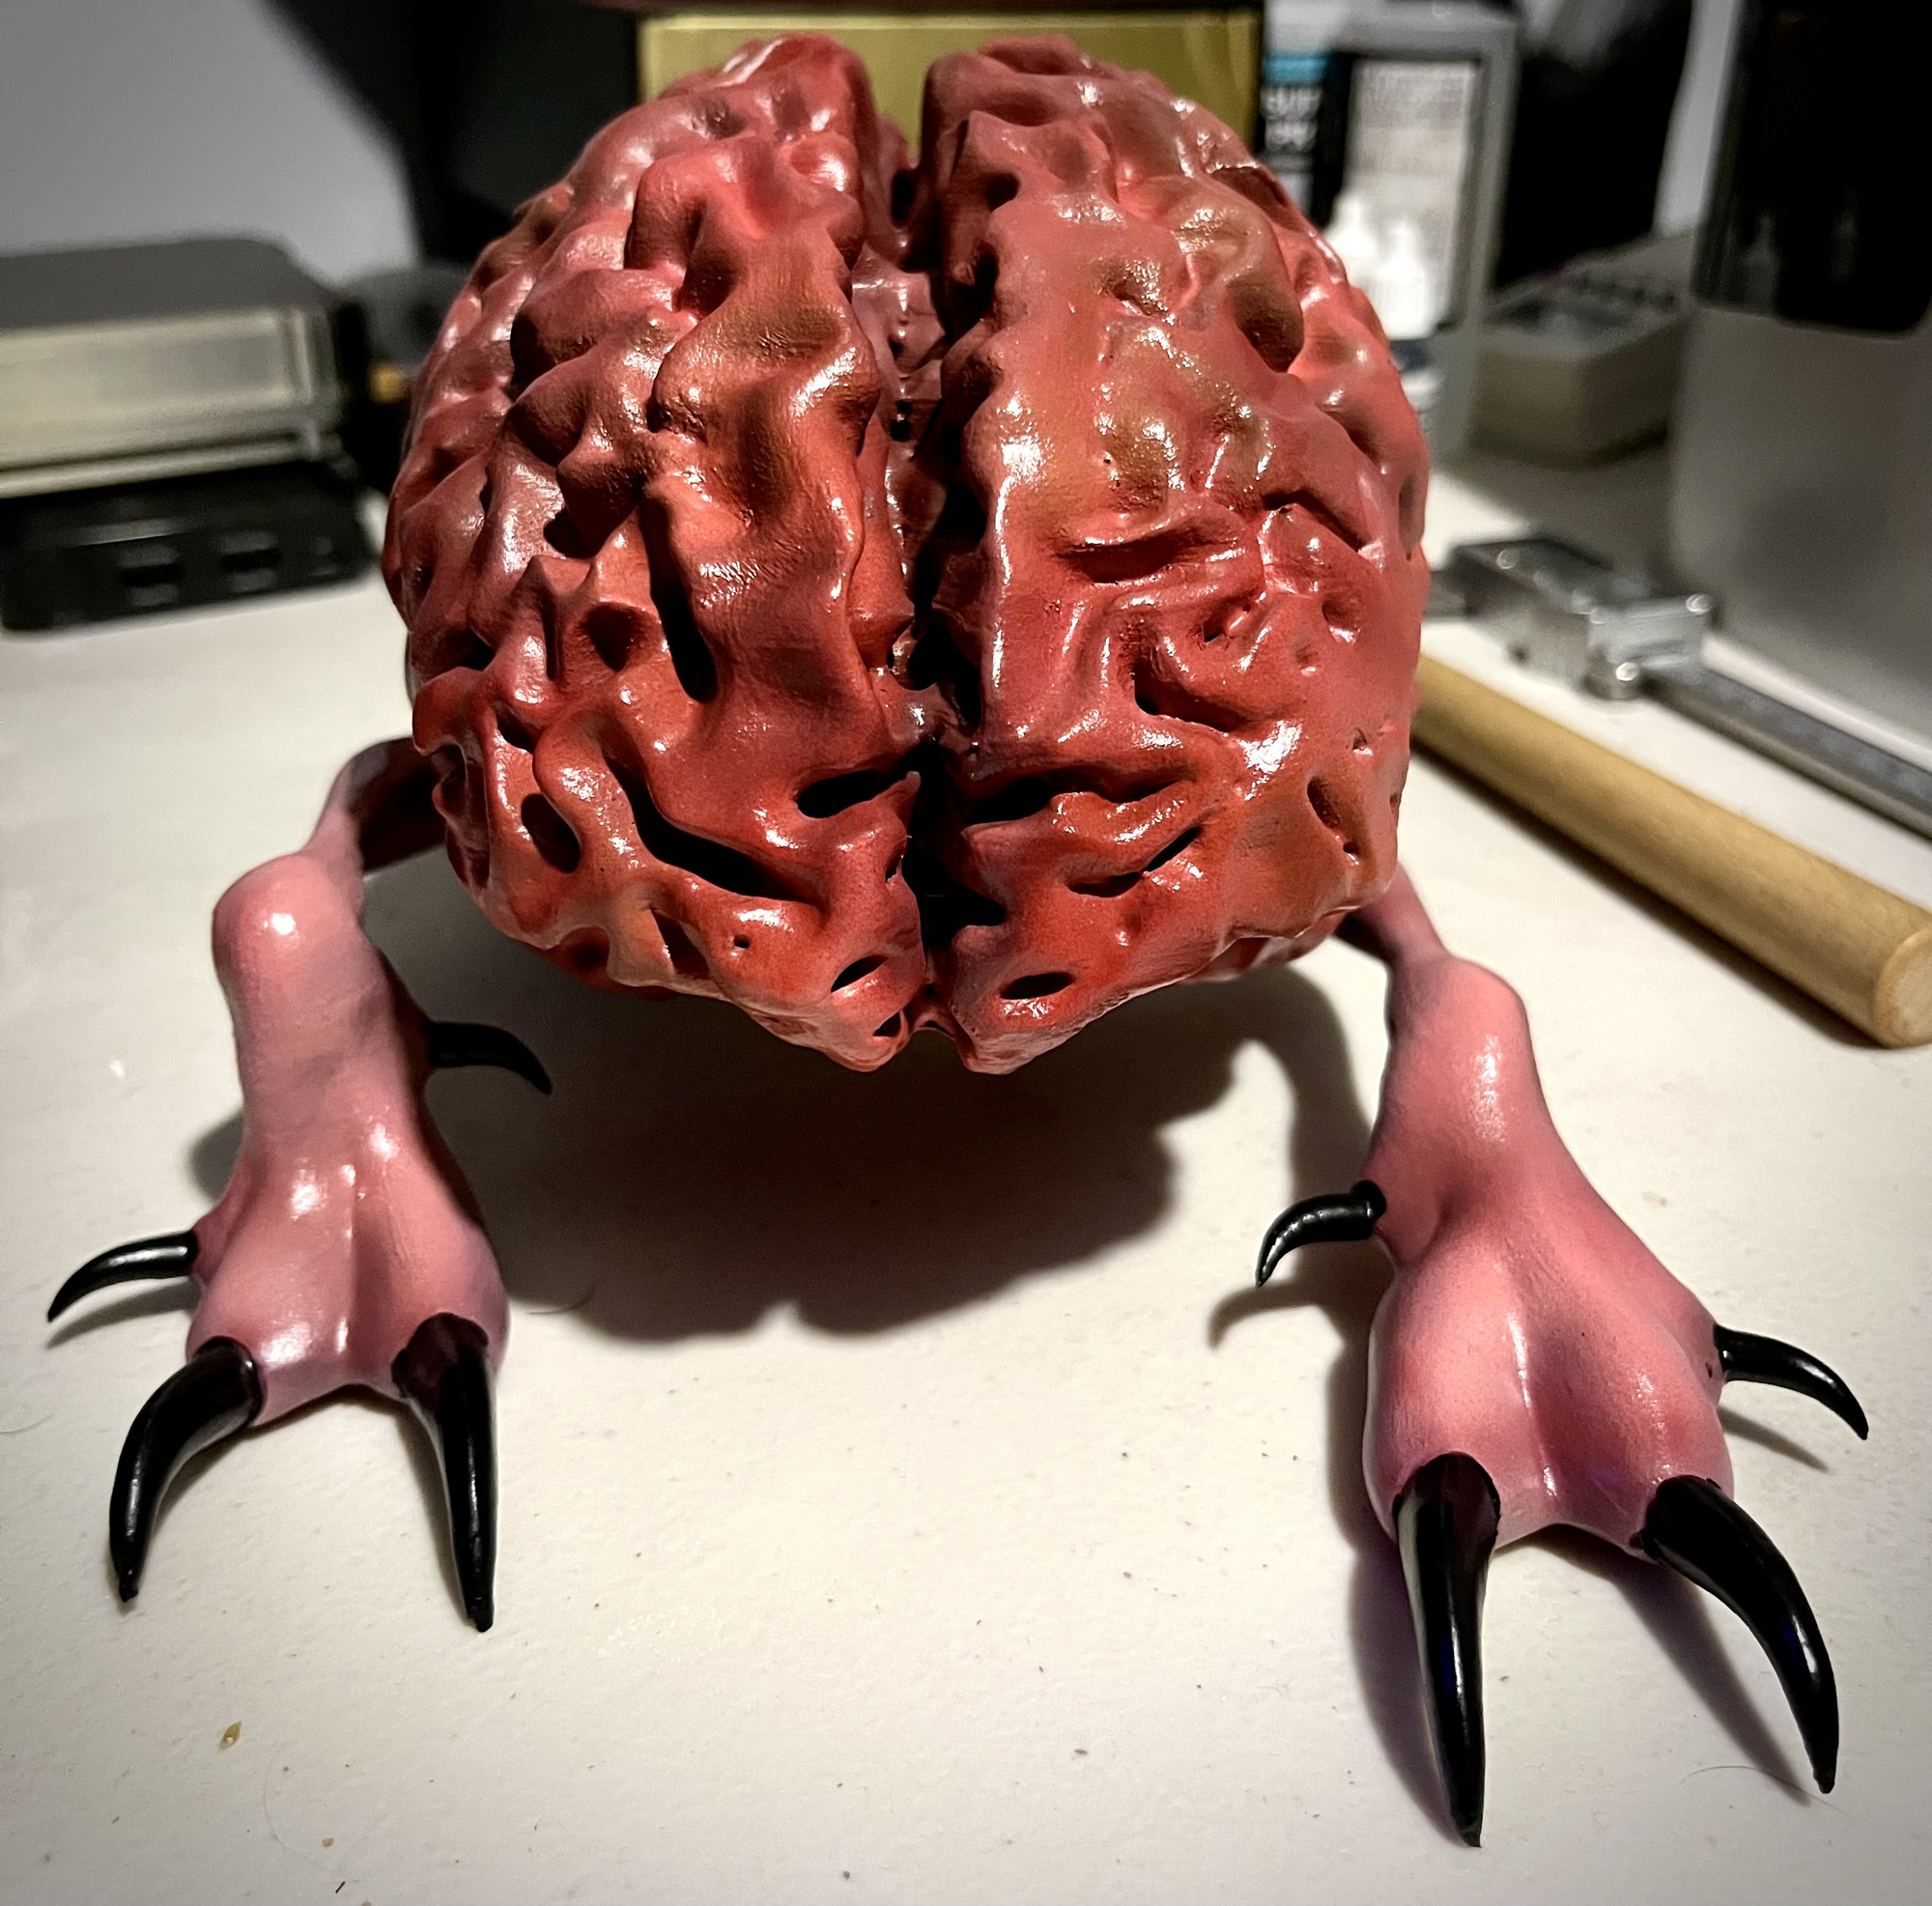
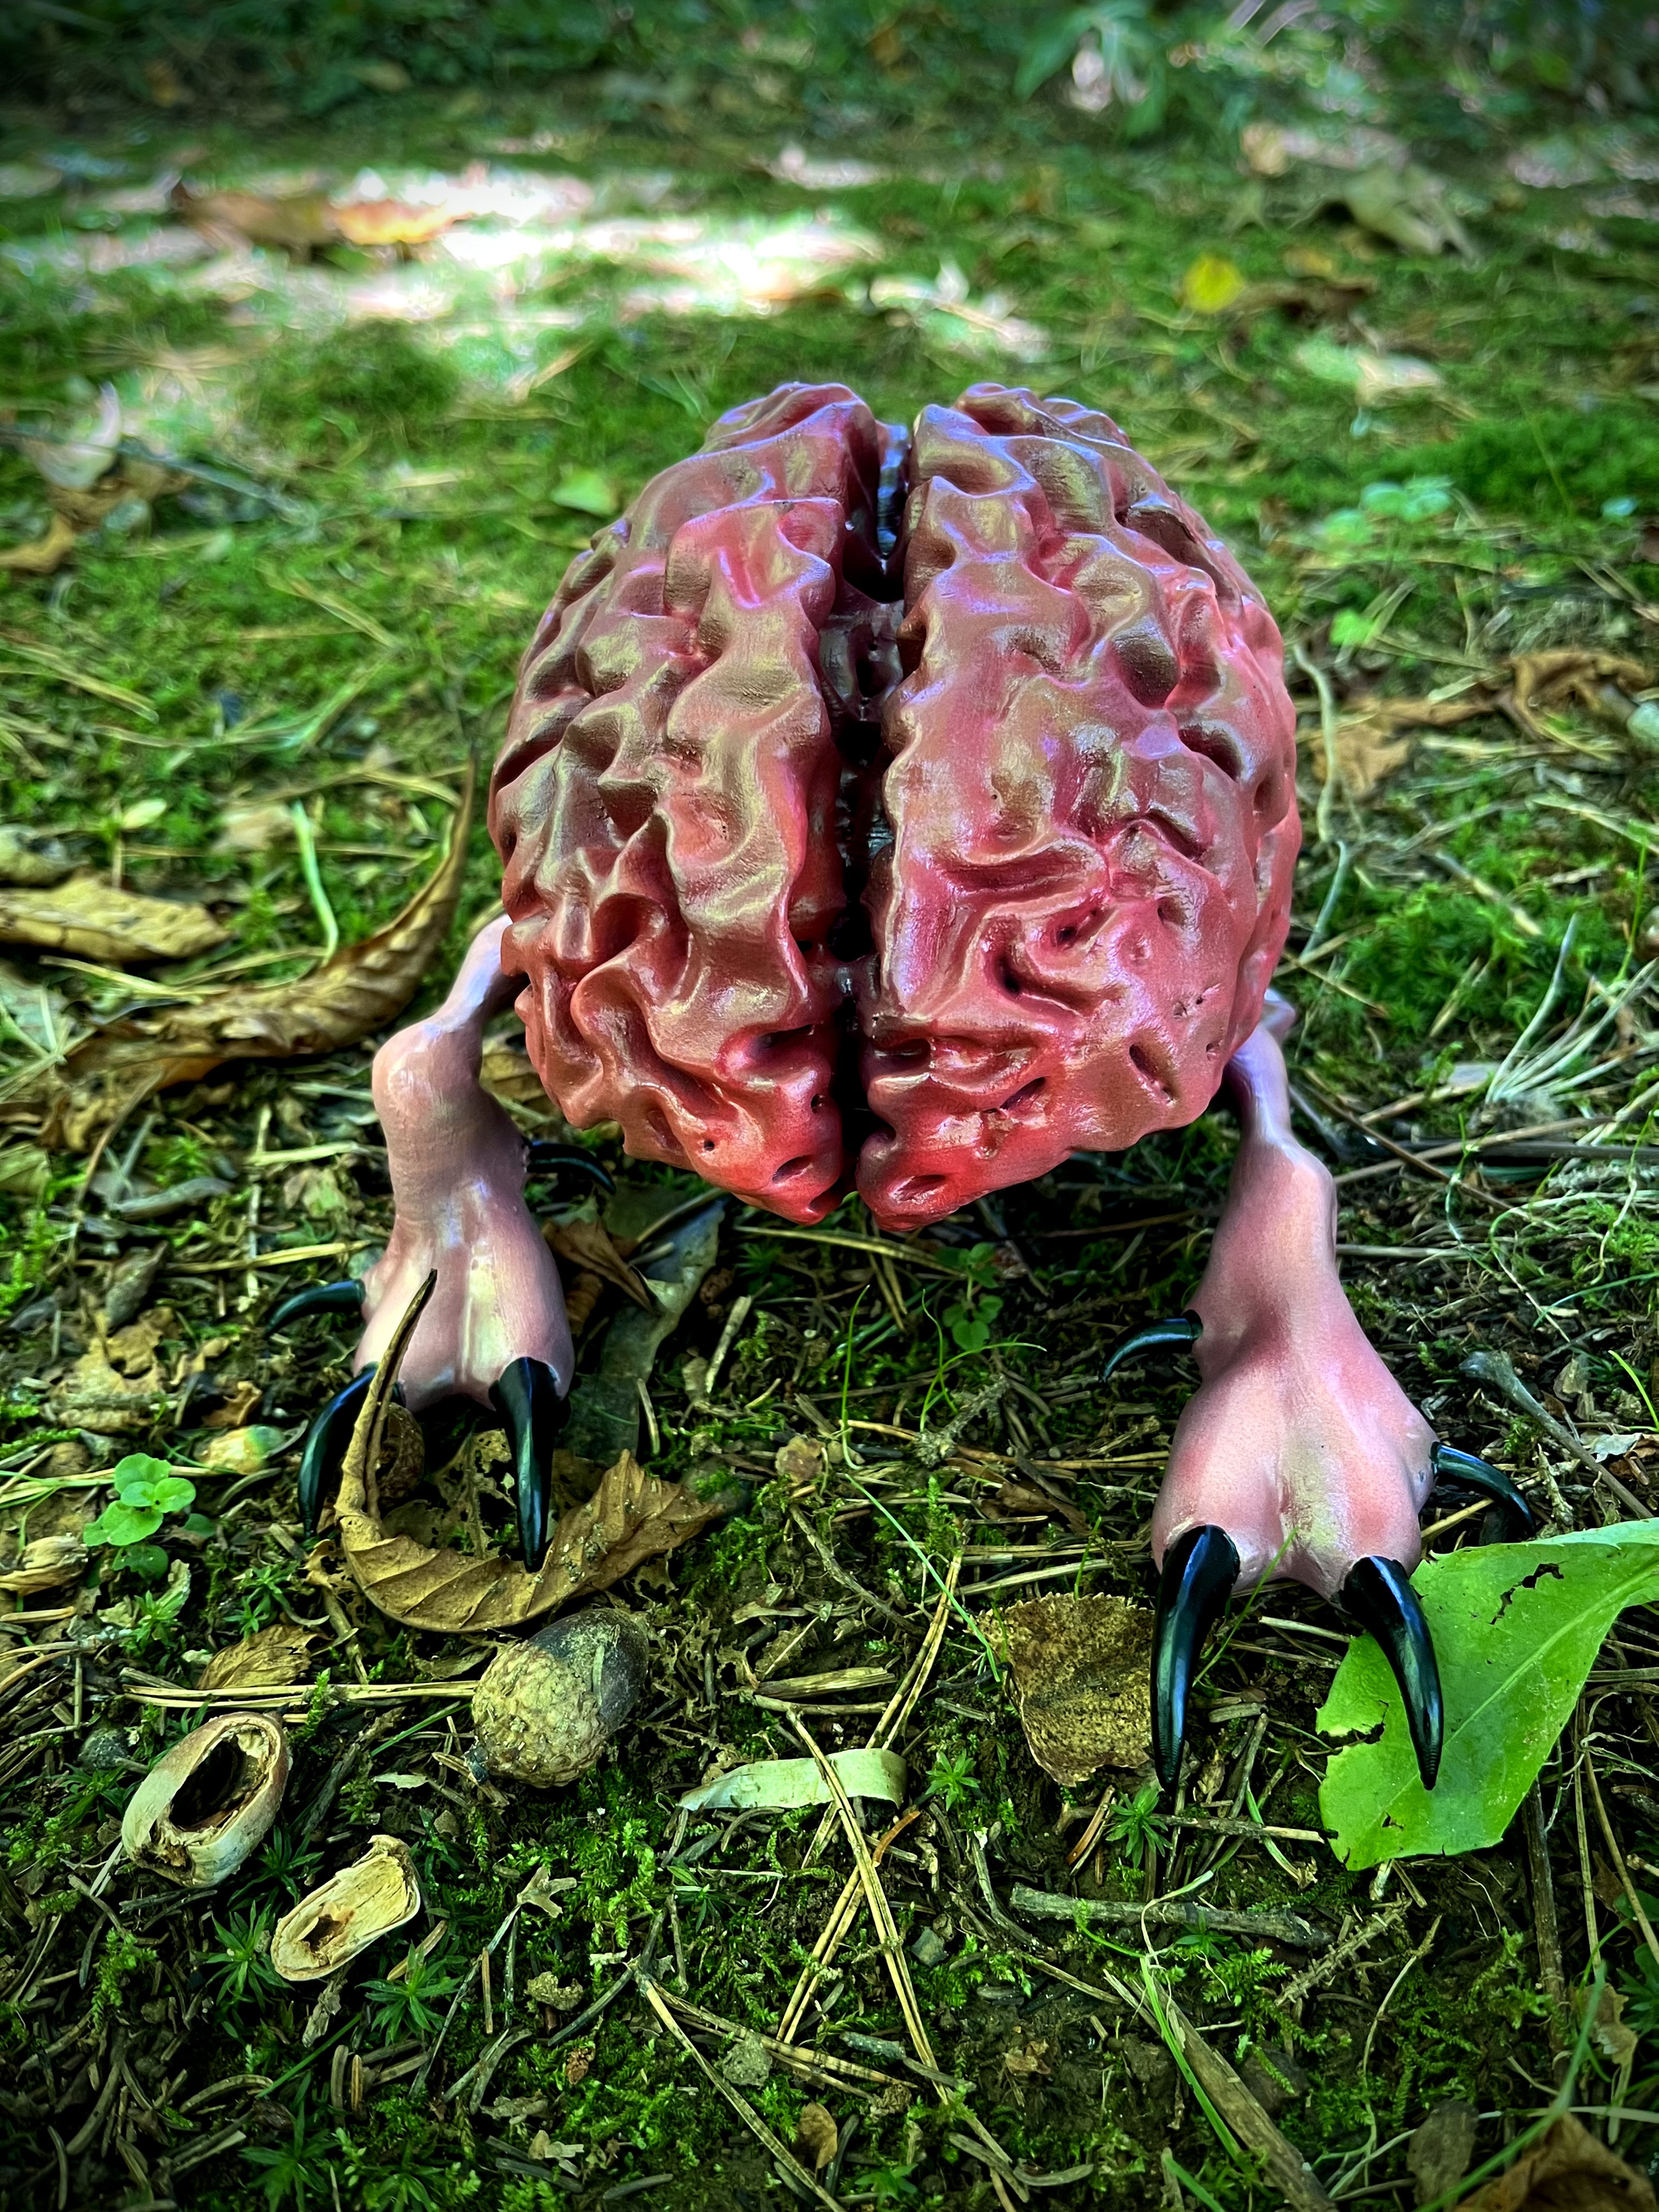
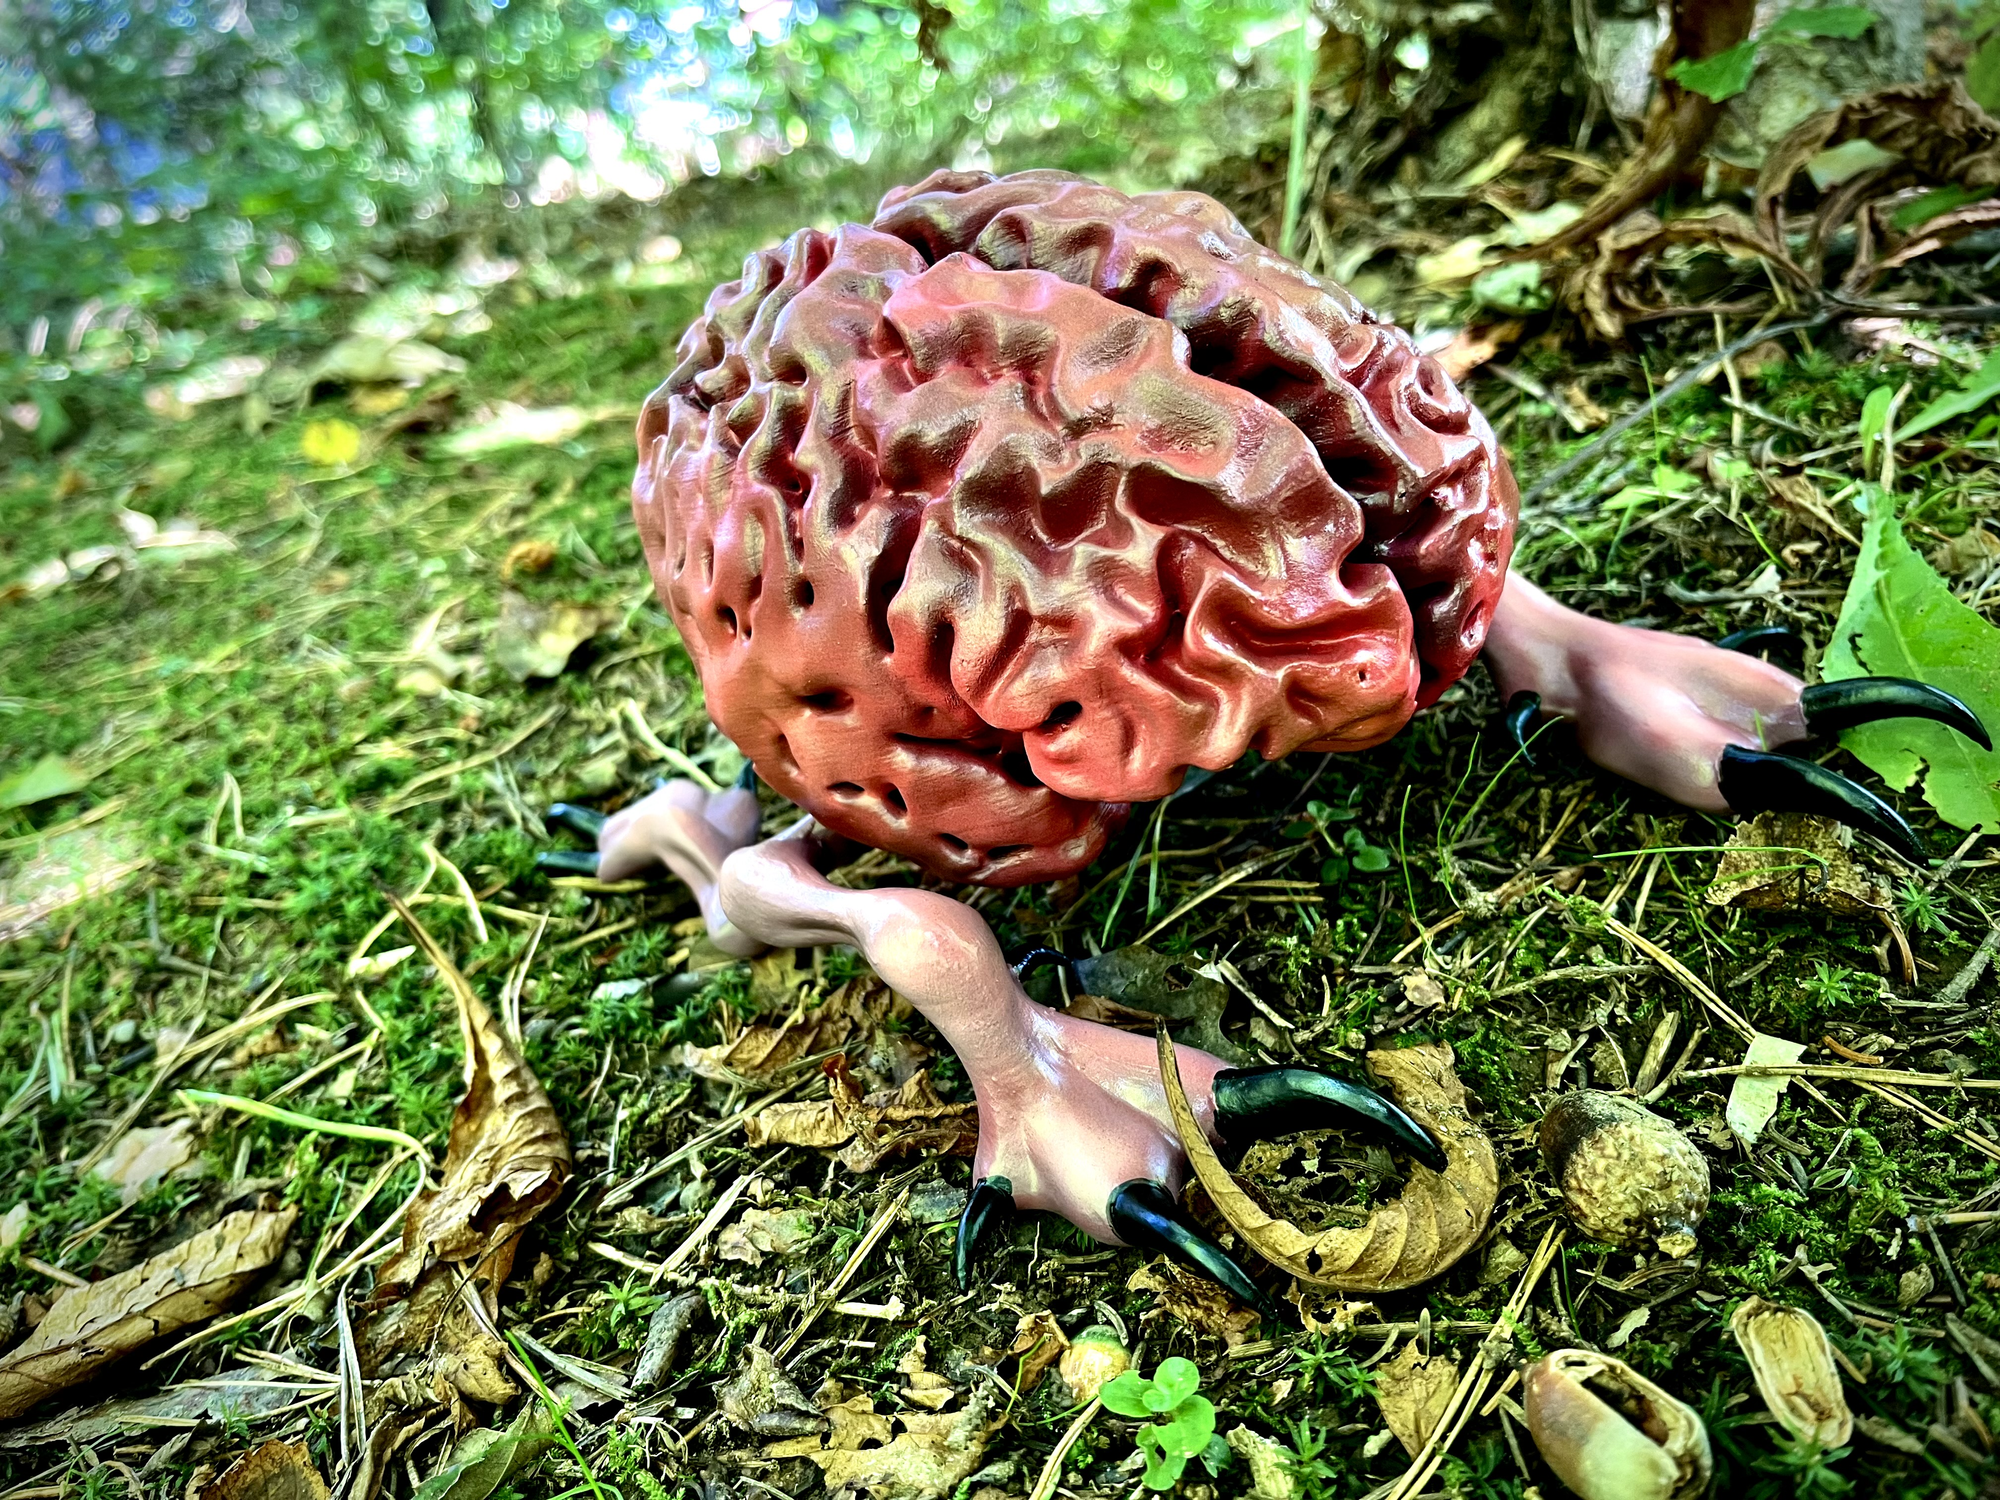
Files
I've debated on releasing the files for this, since it is well, my own brain. I finally settled on yes, but I will be making it a paid model. After all, it's basically selling my body in a way ;)
You can find the model at Cults or Printables.


